

How To Set Air Dry Clay
Top tips for crafting with air dry clay
Welcome to the Cosy Craft Club's air dry clay month! Nosotros really want to encourage you to have a go at working with clay, it's so fun! You lot can find all our air dry dirt posts in 1 identify hither.
Clay is such a wonderfully tactile arts and crafts, and using air dry dirt is a bully way to get started since you lot don't need a kiln! But it tin exist tricky to piece of work with when you're starting out. We asked lovely UK air dry out clay crafters for their top tips for beginners, and we got so many corking tips! Keep reading to get loads of great insights to help you with your clay creations.
Leave your clay to dry out in the airing cupboard to speed up drying time. I turn the dirt pieces over a few times - this allows information technology to allow it to dry evenly and prevents the sides from crimper.
A groovy way to sand your pieces is with a fine dust smash file, I find this much easier than sandpaper. When I started first playing around with clay I found a pack of old smash files and used them to encounter how they worked with dirt and I've never looked dorsum!
Vicki - Bella & Bie @bella_and_bie
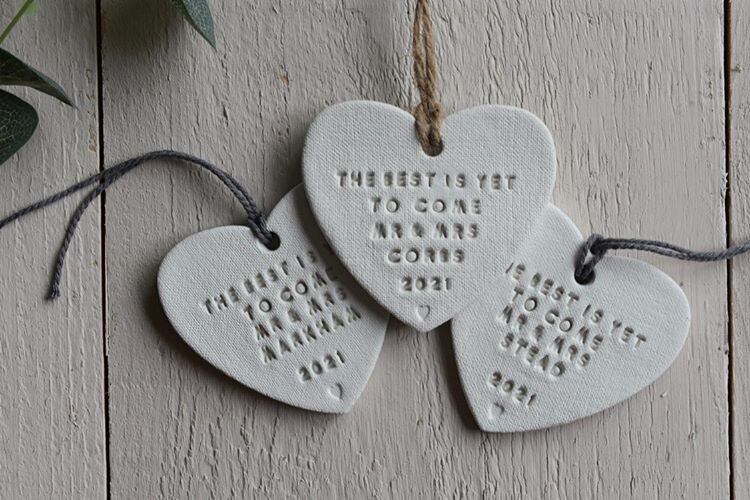
Photo: Bella & Bie
Sketch out your ideas before hand, fifty-fifty to the smallest details, as air dry out clay tends to dry fast! Or at least have a very clear film in your head of what your trying to achieve.
Don't panic if y'all've struggled with an thought or design and you all the same accept rough edges or lumps and bumps. Take hold of some pocket-size pieces of sandpaper. Showtime with rough to quickly remove anything unwanted and then end off with smooth to give a soft finish!
Zara - Black Star Clay Designs @blackstarclaydesigns
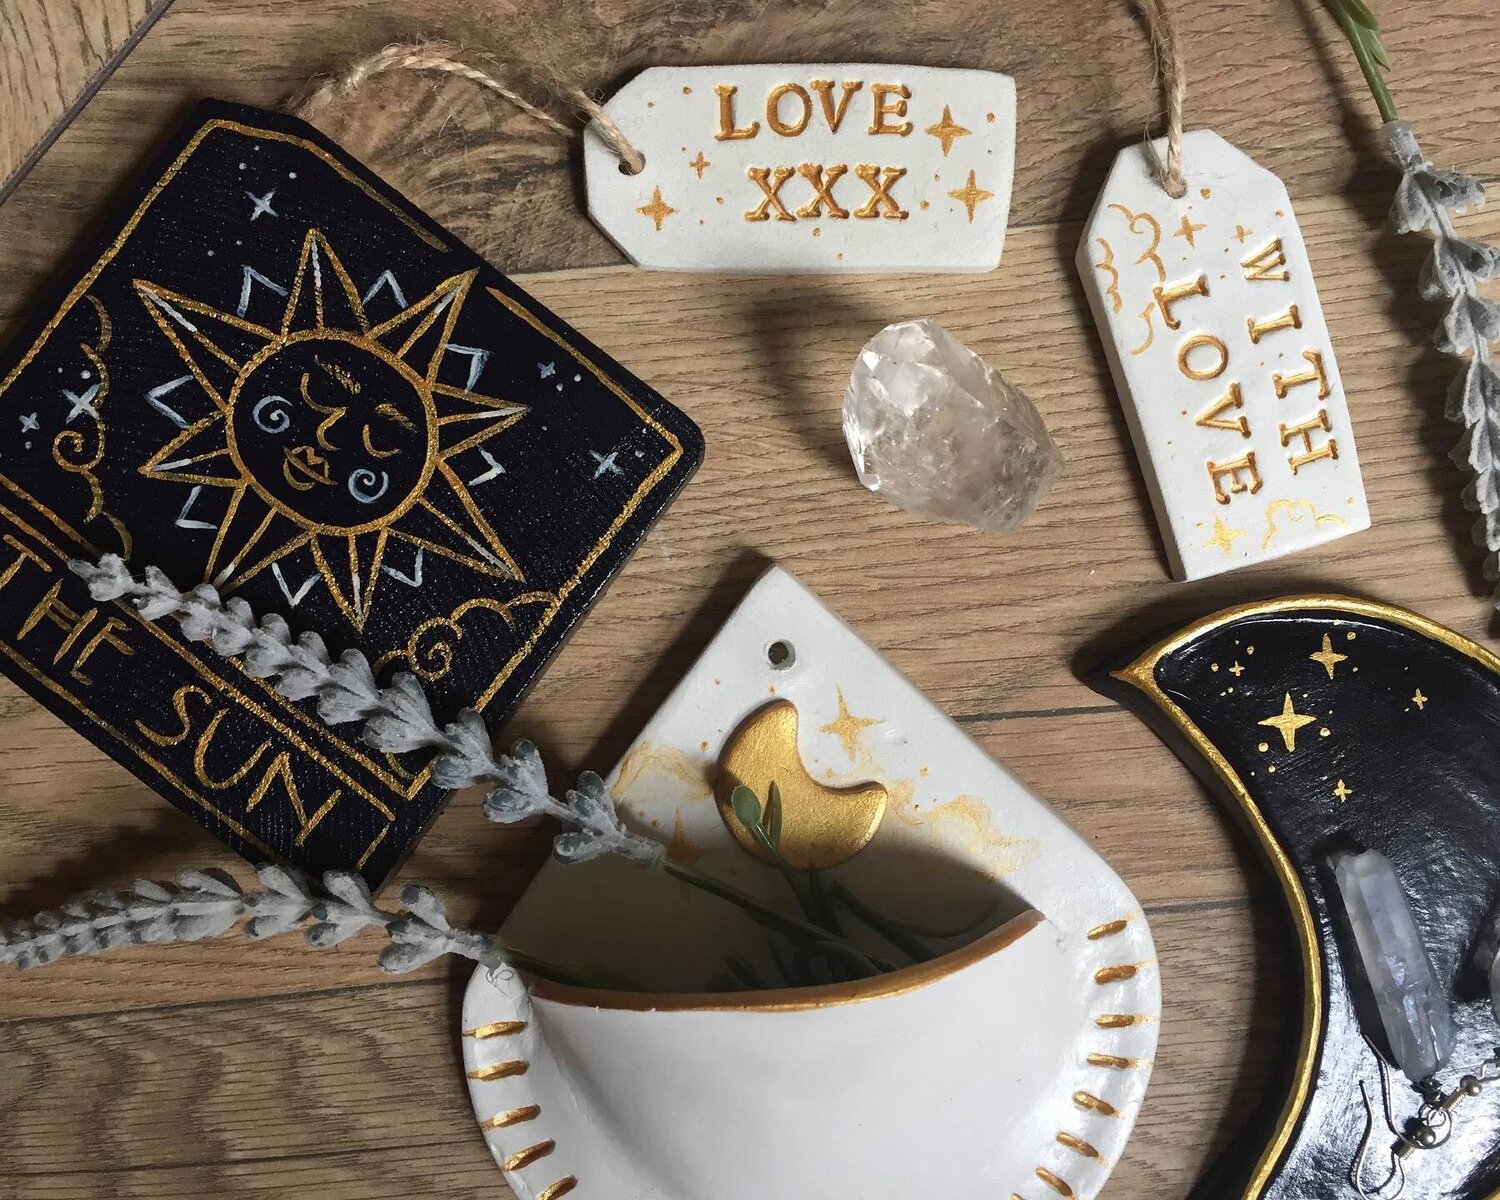
Photo: Blackness Star Clay Designs
Don't be afraid to experiment with texture - everything around us in the home or nature leaves a mark and can atomic number 82 to a new idea. Whether it'south leaves from the garden, sole of a shoe or a manhole cover there is texture all effectually us to be captured.
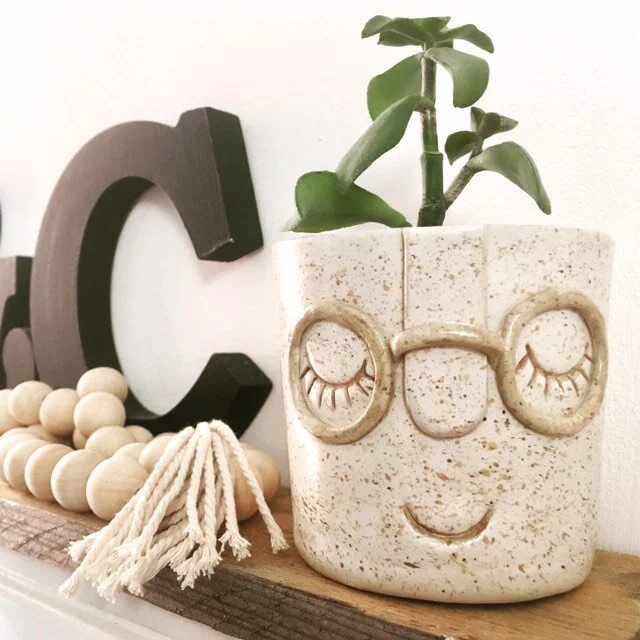
Sam - Dinky Houses @dinky_houses
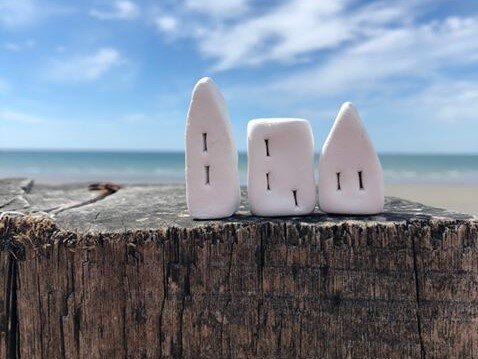
Photo: Dinky Houses
You don't need to spend a fortune on ALL the tools, you end up generally using your easily and perhaps two or three tools tops. For making piffling miniatures I mostly employ my hands, a round wooden tool to shape the clay (a pencil would piece of work just besides), a needle tool for detailing and texture, and finally an sometime paint brush for wetting and and smoothing out whatsoever rough $.25.
Becky - Falling Fauna @fallingfauna
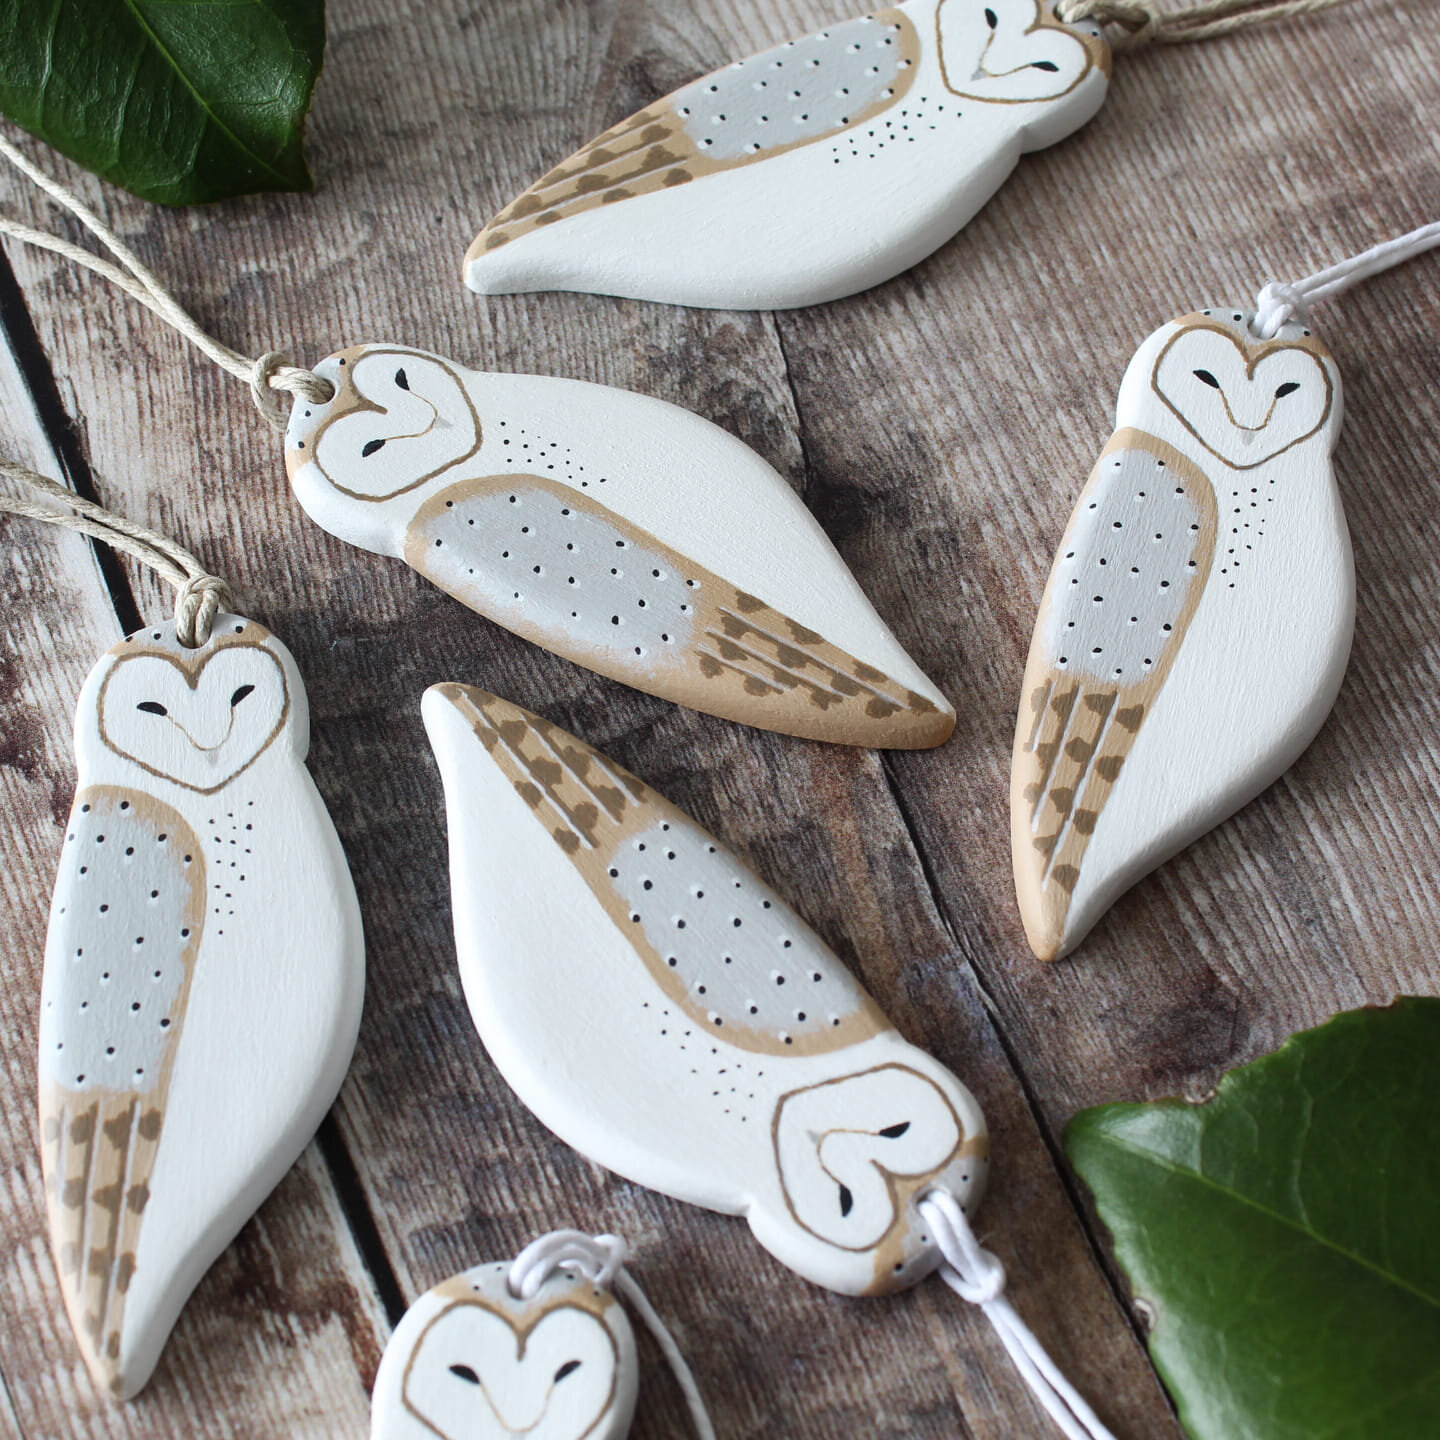
Photo: Falling Beast
Not bad tools that I dear to apply when working with clay are cookie cutters for shapes and different fabrics to requite texture to my creations.
Desiree - Handmade by Dessi @handmadebydessi
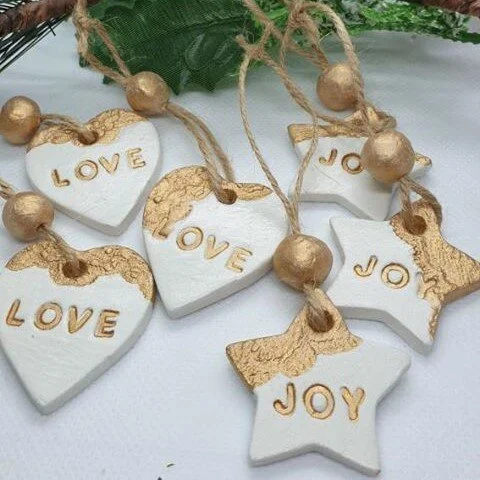
Photo: Handmade by Dessi
If yous don't have tools or are just kickoff and don't want to invest in them, don't worry just utilize things yous find round your house! I use a kitchen pocketknife, metallic ruler, measuring spoon to make my pots - not a clay tool in sight.
Air dry out clay dries when it is left out but did you know yous can oven dry it if you lot are in a rush? Make certain information technology is under 100 degrees C and I always take it out and plow it every x minutes.
Lindsay - Homemade with Lindsay @homemadewithlindsay
Photograph: Bootleg with Lindsay
My meridian tip is to use mitt cream earlier handling the clay as this stops it sticking to your hands. I likewise use a bit of hand cream to rub on dishes earlier I push button the clay into them instead of cling film.
Claire - Mama Makes It Crafty @mama_makes_it_crafty
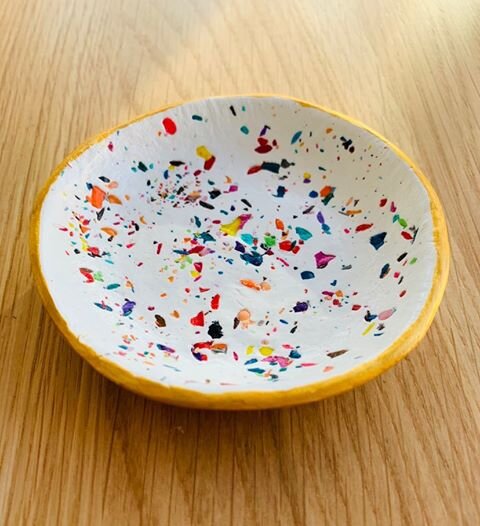
Photo: Mama Makes Information technology Crafty
When applying paint, do your first base layer and and so when applying the second layer keep the brush actually dry. This gives a great issue and picks up all of the textures of the dirt. You tin can and so keep calculation layers to highlight dissimilar areas in various colours.
Make sure you don't utilise the varnish layer too thick and if you do two coats ensure that you leave information technology a proficient few days betwixt them every bit otherwise it can have a long time to fully dry.
Megan - Megan Edwards Art @meganedwardsart
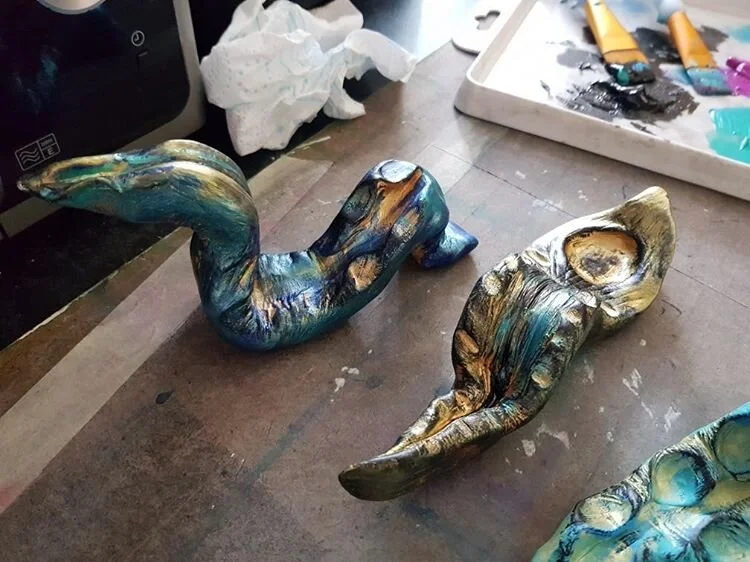
Photograph: Megan Edwards Art
When starting out with air dry out clay it can be frustrating as it is so easy to mark the clay unintentionally. Just y'all don't need to worry about having perfectly smooth clay every fourth dimension. If I get some small cracks or marks on the clay I only put a bit of water on my fingertip and gently smooth over the areas I'g non happy with. This can save you lot a lot of time and so you don't accept to scroll out the dirt and start again. If there is still some unevenness later on the clay has dried you can e'er use sandpaper for a nice smoothen terminate.
Carina - Minimal by Mimi @minimalbymimi
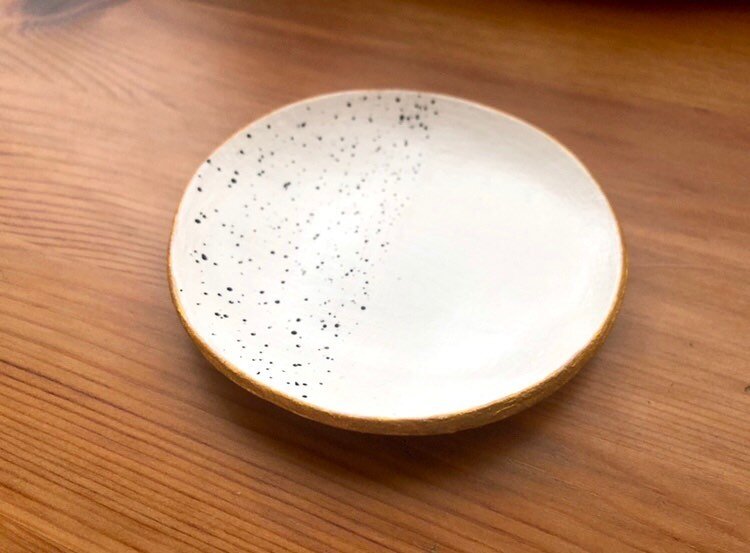
Photo: Minimal by Mimi
Definitely do your inquiry. Some clays are best for delicate and intricate works and others are more suited to less complex designs. I have found through trial and mistake with making beast figurines, it's best to add a wire armature to whatever limbs or areas which would need any extra hold. This adds security and makes it before to attach clay to clay!
Keeping the clay moisture also allows layer building. However too much water tin cause your project to slip and slide. I discover it all-time to have a little spray bottle at hand to ensure an even distribution and command over how much moisture is added. I besides brand sure I have a scrap damp slice of cotton cloth to wipe downwards my hands and tools, this removes any dry crispy clay and stops this existence added to my project.
Sophie - Sophs Draws @sophsdraws
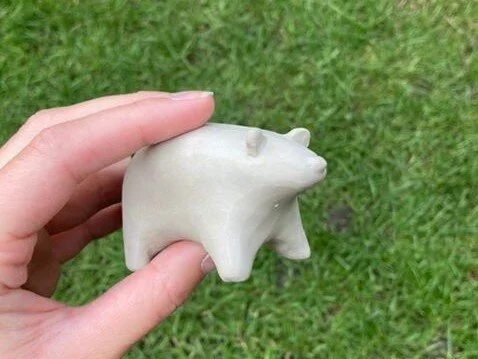
Photo: Sophs Draws
Boom files are gilt! No affair how much you smooth out your clay when wet, it is ever going to take some imperfections one time dry. I've constitute that a nail file has just the right corporeality of grit to erase nail marks and dimples without damaging the finished piece. A tool you're likely to have around the house, and far less abrasive that sandpaper.
Bryony - Speckled Hand @speckledhand
The best advice I can give when using air dry dirt is practice. My offset attempts at using this material were disheartening, my items cracked and had a texture I wasn't happy with. The most important thing is and then take fun - you lot tin always smush information technology all together if y'all don't like information technology and get-go again!
Brand certain yous have pushed all the air out of the clay whilst you mould it. It might sound silly but I smack it with the palm of my hand until it'south fairly even earlier rolling the clay out, this way you forcefulness out whatsoever air bubbles.
Alice - Twinkle and Twine @twinkle_and_twine

Then many amazing tips there! I hope you learned something useful and have been inspired to have a go with air dry dirt!
Thanks so much to everyone who contributed to this mail service. Please click on their links and show them some dearest :)
Rachel x
Cosy Craft Club is a craft box subscription - receive a beautiful kit to effort a different craft every calendar month! All our kits are suitable for beginners and comprise everything you demand to sit and get crafting. Our kits are also available to purchase individually (subject to availability).


Source: https://www.cosycraft.club/blog/top-air-dry-clay-tips-for-beginners
0 Response to "How To Set Air Dry Clay"
Post a Comment